Posted by MopTop Hair
on April 24, 2025
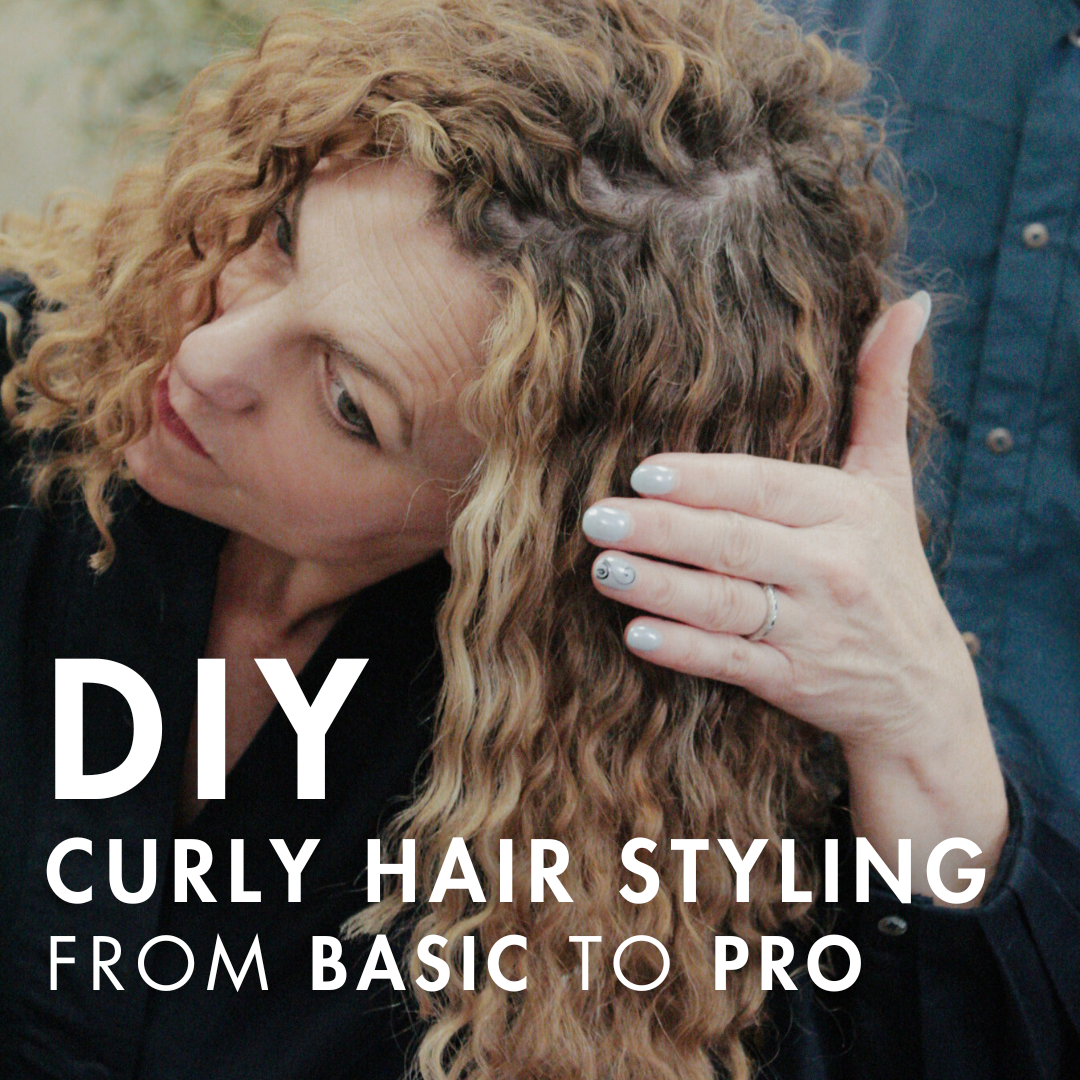
Styling your own curly hair can feel like an art form, but with the right tips, techniques, and products, you can master it from basic everyday looks to pro-level styles. Whether you’re a beginner or looking to refine your DIY styling routine, we’ll help you take your curls from simple to stunning—all while keeping your hair healthy and vibrant.
Start with the Basics
1. Begin with a Clean Canvas:
For best results, start with freshly washed hair. Use a sulfate-free shampoo Gentle Shampoo to cleanse without stripping essential moisture. Follow with our Daily Conditioner to restore hydration and detangle your curls.
2. Condition & Prep:
After washing, use a Deep Conditioner once a week to boost moisture levels. For everyday use, follow up with Leave-In Conditioner on damp hair. This creates a smooth base and detangles your curls, setting the stage for flawless styling.
Basic DIY Styling Techniques
3. Embrace the Scrunch:
Once your hair is prepped, apply a small amount of the Curl Enhancer Gel. Using the scrunching technique, gently work the product into your curls from the ends upward. This enhances your natural curl pattern without weighing your hair down.
4. Air Dry or Diffuse:
For a natural finish, allow your hair to air dry. If you need a quicker process, use a diffuser on a low heat setting. This minimizes heat damage while maintaining volume and definition.
Intermediate Tips for Elevating Your Style
5. Layer Your Products:
For extra definition, cocktail Curly Hair Cream or Curly Hair Custard.These products add volume, define curls, and tame frizz.
6. Refreshing Second-Day Curls:
On non-wash days, revive your curls by spritzing a mixture of water and Leave-In Conditioner onto your hair. This lightweight refresh keeps your curls defined and frizz-free without a full wash.
Pro-Level DIY Styling Techniques
7. Twist Outs and Braid Outs:
For more defined and elongated curls, try a twist-out or braid-out style. After applying your favorite moptop styling products, section your hair and create twists or braids. Once your hair is dry, unravel the twists for beautifully defined, stretch-boosted curls.
8. The Power of Diffusing:
Advanced DIY stylists often use a diffuser in multiple stages. First, diffuse for a few minutes to set the base of your curls. Then, flip your head and diffuse again to boost volume at the roots. This two-step diffusing process gives you extra lift and bounce.
9. Customizable Styling:
Mix and match moptop products to create a routine tailored to your unique curls. For example, combining a small amount of Curly Hair Cream with Curl Enhancer Gel can provide both definition and a soft, touchable finish. Don’t be afraid to experiment until you find your perfect formula.
Final Pro Tips
-
Less is More: Start with small amounts of product and add more gradually to avoid buildup and weight.
-
Patience is Key: Allow your hair time to dry naturally or use the diffuser method to avoid disrupting your curl pattern.
-
Consistency: Develop a regular routine that includes proper cleansing, conditioning, and styling to maintain healthy, defined curls over time.
Final Thoughts
Mastering DIY curly hair styling is all about experimenting and finding the techniques that work best for your hair. From basic scrunching and air drying to advanced twist-outs and multi-stage diffusing, you have the tools to transform your curls from everyday to pro-level.
With moptop’s range of natural & clean, effective products, you can confidently take control of your curl routine and enjoy salon-worthy styles every day.